03 May Stock Photography Workflow
I love to shoot fine art images. But, alas, I’m not in a place where I can life off of selling fine art images alone (nor am I sure that’s a route I’ll ever go down full-time). So in order to make shooting fine art images more financially viable, I also make sure that I shoot a load of images that are suitable for my stock photography libraries at the same time and in this article I’ll show you my stock photography workflow.
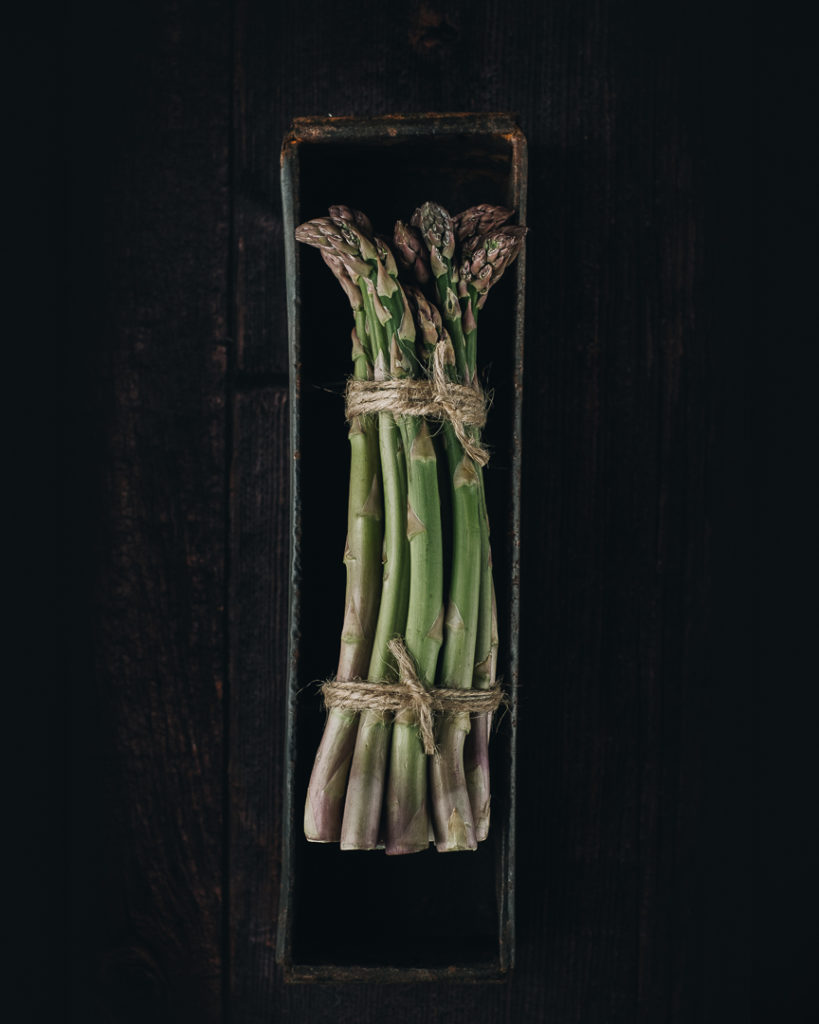
The image above was the final image I decided to print from this collection and it’s more or less what I had in my head when I first started shooting. I knew that I had the perfect little tin box that would look great with the asparagus in. Combined with a dark background, it perfectly fitted the style I look shooting in at the moment.
Shooting stock
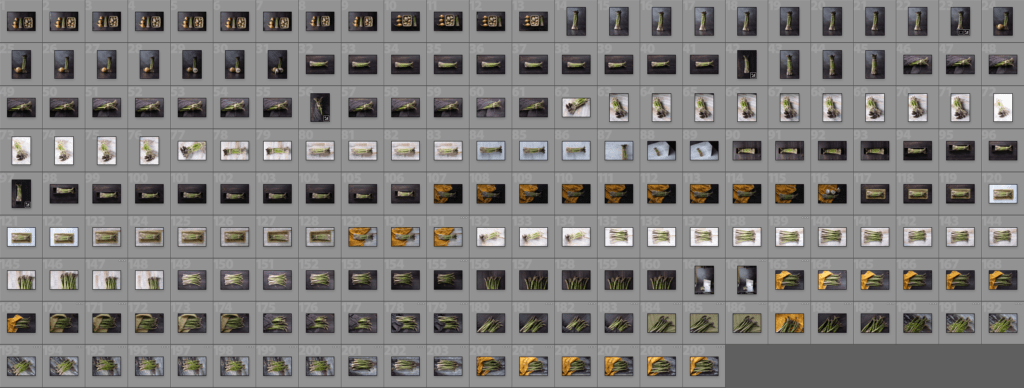
But actually, while I took less than 20 shots to nail the fine art image I wanted and had pre-planned, I shot over two hundred images in total. Why? Because I knew that there’s plenty of opportunities to shoot a variety of similar image with the same main prop that will sell on the stock libraries that I supply to.
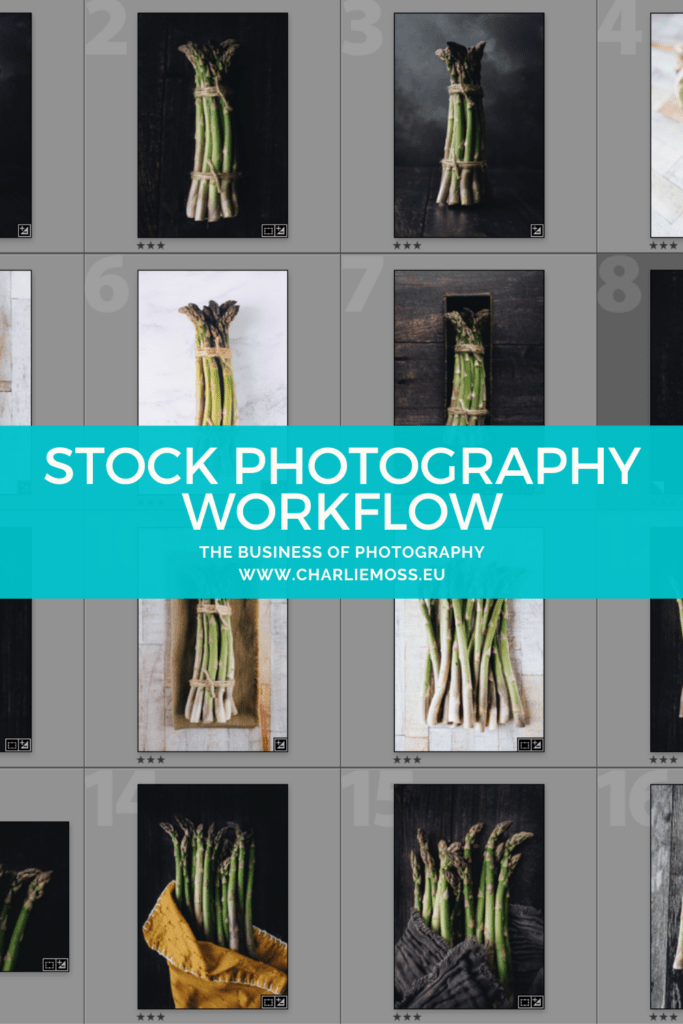
It took just under 40 minutes for me to start testing my settings to uploading the images to my Lightroom catalogue. And I was rewarded with 16 images that I’ll upload to stock libraries, that are all suitably different to deserve their place in the catalogues.
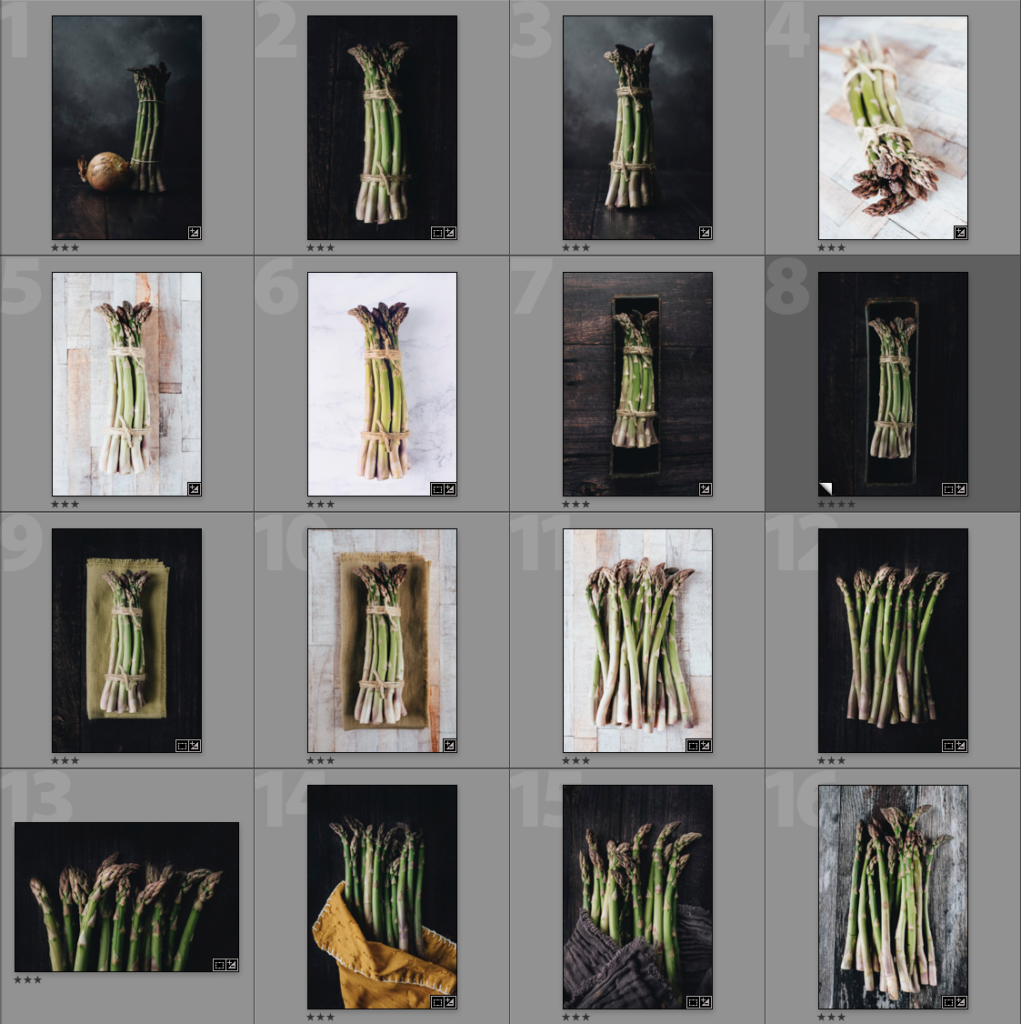
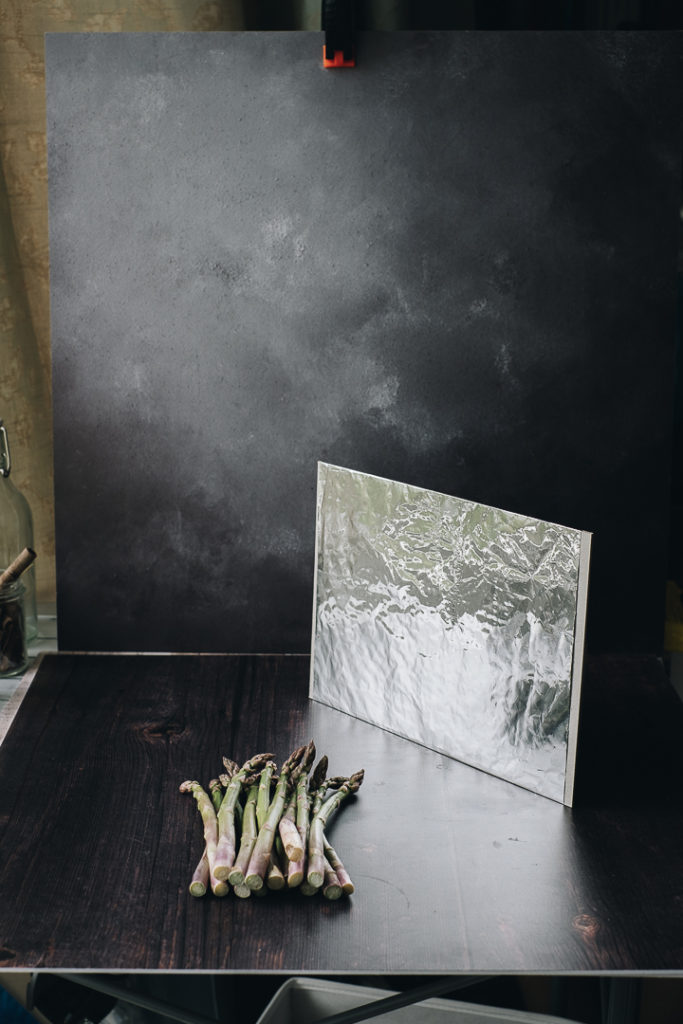
All of the images above were shot in the same space. On a camping table next to the window in my studio. The same place I shoot most of my food and still life images.
I use special lightweight boards from Photoboards for the backgrounds in my still life photography setup. They’re the best photographers backdrops I’ve found, high quality enough that you don’t have to try and hide them or do extra post-processing work. They’re basically full-size replicas of textures that have been photographed and reproduced and they’re not very expensive.
The lightweight backgrounds mean that it’s trivially easy to just swap backgrounds in and out and shoot a wide variety of stock images very quickly on different kinds of backgrounds.
In the images above I’ve used the 60x60cm styles: barn, spotlight, smokehouse, Kyoto, and cosmopolitan. And yes, that’s silver foil taped to a piece of cardboard. I find it the best silver reflector available for tabletop work.
But is this enough variety for stock photography?
Make no mistake – on their own, these images aren’t going to make me a fortune. But if every week I shoot twenty images that are suitable for placing with stock libraries, then in a year I’ll have a thousand images that are sitting in the background slowly earning me a passive income from my photography.
I’ve seen many photographers talk about their own stock photography workflow. They will aim for a hundred or more images per session, and they’ll shoot a whole variety of images. Because everyone tells you that you need variety in order to have a good, profitable stock image portfolio. And they are right, you do need variety. But if each week I shoot twenty images of a different vegetable, that’s fifty vegetable subjects I’ll have at the end of the year.
Do you see where I’m going with this? There’s no need to bust a gut to have a diversity in your stock image portfolio from the start. Instead play the long game. Shoot twenty great and different images of one subject in a session, rather than twenty images of twenty subjects. Take the time to really explore your subject so that you get every possible images that a buyer could want.
I’ll be honest, I’m quite lazy with my stock photography. I could have easily carried on shooting asparagus for another half an hour, used more backgrounds, come up with more compositions and some styled shots and had a greater variety of images to place with stock libraries. I could have also then cooked it and had another set of different images. And if I was working full time as a specialist food stock photographer, that’s probably what I would have done. But my stock photography is a small part of my overall earning plan for me. So I don’t spend too much time on it.
Stock Photography Workflow
So down to the nitty gritty of it. When I finish shooting I plug my camera into my computer and open Lightroom. From there I import my images into date folders on a hard drive with an action I’ve got set up. It takes the files, copies them to my hard drive for working files, adds a copyright template with my name and contact details, and sorts them into folders by date. I also add keywords (like asparagus), because it makes them easier to find in the future.
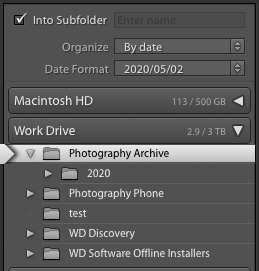
I’ve always used date to organise my photography files. I tried early on using subjects or theme, but it got messy for me. Like if I shoot both a hammer and an apple in the same session, I have to manually split those files up as I catalogue them. Instead I rely on keywordsand the search function to find things again.
Once the files are in my catalogue I sort through them assigning them star ratings (and for this reason I also tell Lightroom to build large previews while importing). Anything that I should never look at again gets one star. Potentially good shots get a three star rating. If I have a few similar images I downgrade the ones I won’t use to two star. Then I work on the three star images to polish them for stock use.
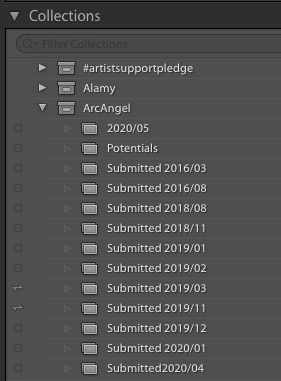
Once the images are all edited, I have a very basic filing system in the “collections” pane of Lightroom. I have a folder per stock library that I submit to, and then inside that folder, I have collections that are roughly filed by month. So you can see that I have started, this month, a collection called “2020/05” because it’s May 2020. Through the month I’ll drop images into it that I want to upload and at the end of the month, theoretically, I will export and upload all the files. As you can see though, I’m quite bad at doing this every month. After they’re uploaded I rename them “submitted” and forget about them.
Look, it’s not the most sophisticated system, I’ll admit. But it’s simple and robust, and there’s nothing that can really go wrong with my stock photography workflow.
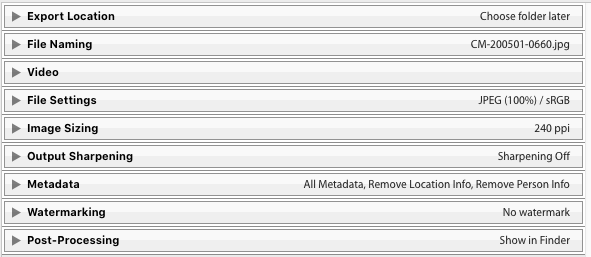
The last thing I do is use an export action that is individually set up for the needs of each stock library I submit to. All stock libraries have different requirements, and this enables me to output the files correctly, but without having to look up the data each time. Above you can see my settings for uploading to Alamy (although I do export to a specific file on my backup RAID server that I then upload from).
Stock photography got so much easier when I started using Lightroom for cataloging my photography archive and using actions/presets at every stage I could. It turned from something that needed a real effort to sit down and do (which I only ever managed once in a blue moon) to something that sits alongside my regular photographic work.
Now, if I shoot an image for an article that I think would also make a great stock shot, then I just drop it into the folder as I go, and then it gets exported and uploaded with everything else for that library. Lightroom, and this workflow/approach, has enabled me to get my images to work harder for me with very little extra effort, which translates into more income.
Let me know if you review your stock photography workflow as a result of this blog post, or even what you do differently! I’d love to hear what you do and why you do it that way.